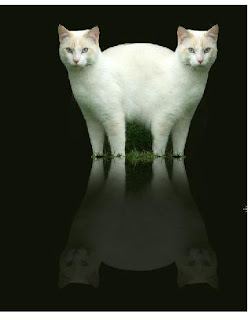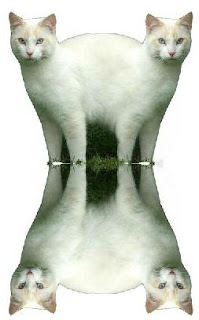
To create the mirror effect, Click once on the picture layer, go to Layer> Duplicate layer> rename it as “Mirror image” . Now we are at “Mirror image layer”. Make sure it is selected in the layer palette. There should be a blue / white outline surround the layer if you click once on it. That means you are at that layer. Go to Edit> Transform> Flip Vertically. Now a mirror image of the twin cat is created.

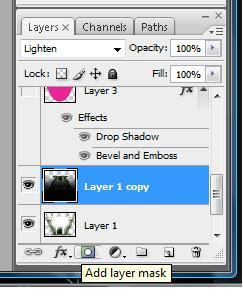
Beautify your mirror image. In the Layer Palette, click Add Layer Mask button.

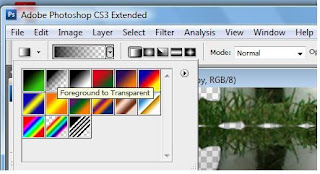
Now we need to set the foreground colour in you toolbox. Double click on the Foreground colour and set it to be Black. Now click on your Gradient tool. Go to gradient properties, chose the second gradient which is from Foreground to Transparent.

Now click and drag your cursor on the cat mirror image in a straight line from BOTTOM to TOP of the image to darken the image at the bottom part of the layer. YES it works that way.
No we have a darkened mirror image but it is not yet perfect. Go to Filter> Distort> Ocean Ripple. Adjust your ripple size so that the mirror image will look like a reflection of the cats image under the water. Click OK when you have finished.

